Transform Your Space: Expert Tips for Granite Flooring Installation


Granite flooring is an elegant and durable choice for any home or commercial space. Known for its natural beauty and resistance to wear, granite can transform the look of your interiors. Whether you're renovating an existing space or building from scratch, expert tips can help ensure a successful installation.

Why Choose Granite Flooring?
Granite is a natural stone that offers a unique blend of aesthetics and functionality. Its natural patterns and colors add character to any room. Moreover, granite is incredibly durable, making it ideal for high-traffic areas. It's resistant to scratches, heat, and moisture, ensuring longevity and sustained beauty.
Another advantage of granite flooring is its low maintenance. With regular cleaning and occasional sealing, granite retains its original allure for years. This makes it a cost-effective option in the long run.
Preparing for Installation
The first step in installing granite flooring is preparation. Ensure that your subfloor is clean, dry, and level. This foundation is crucial for a smooth installation. Any unevenness can lead to future problems, such as cracking or shifting tiles.

Next, measure your space accurately. This will help you determine the amount of granite you need, minimizing wastage. It's wise to purchase a little extra material to accommodate for any mistakes or future repairs.
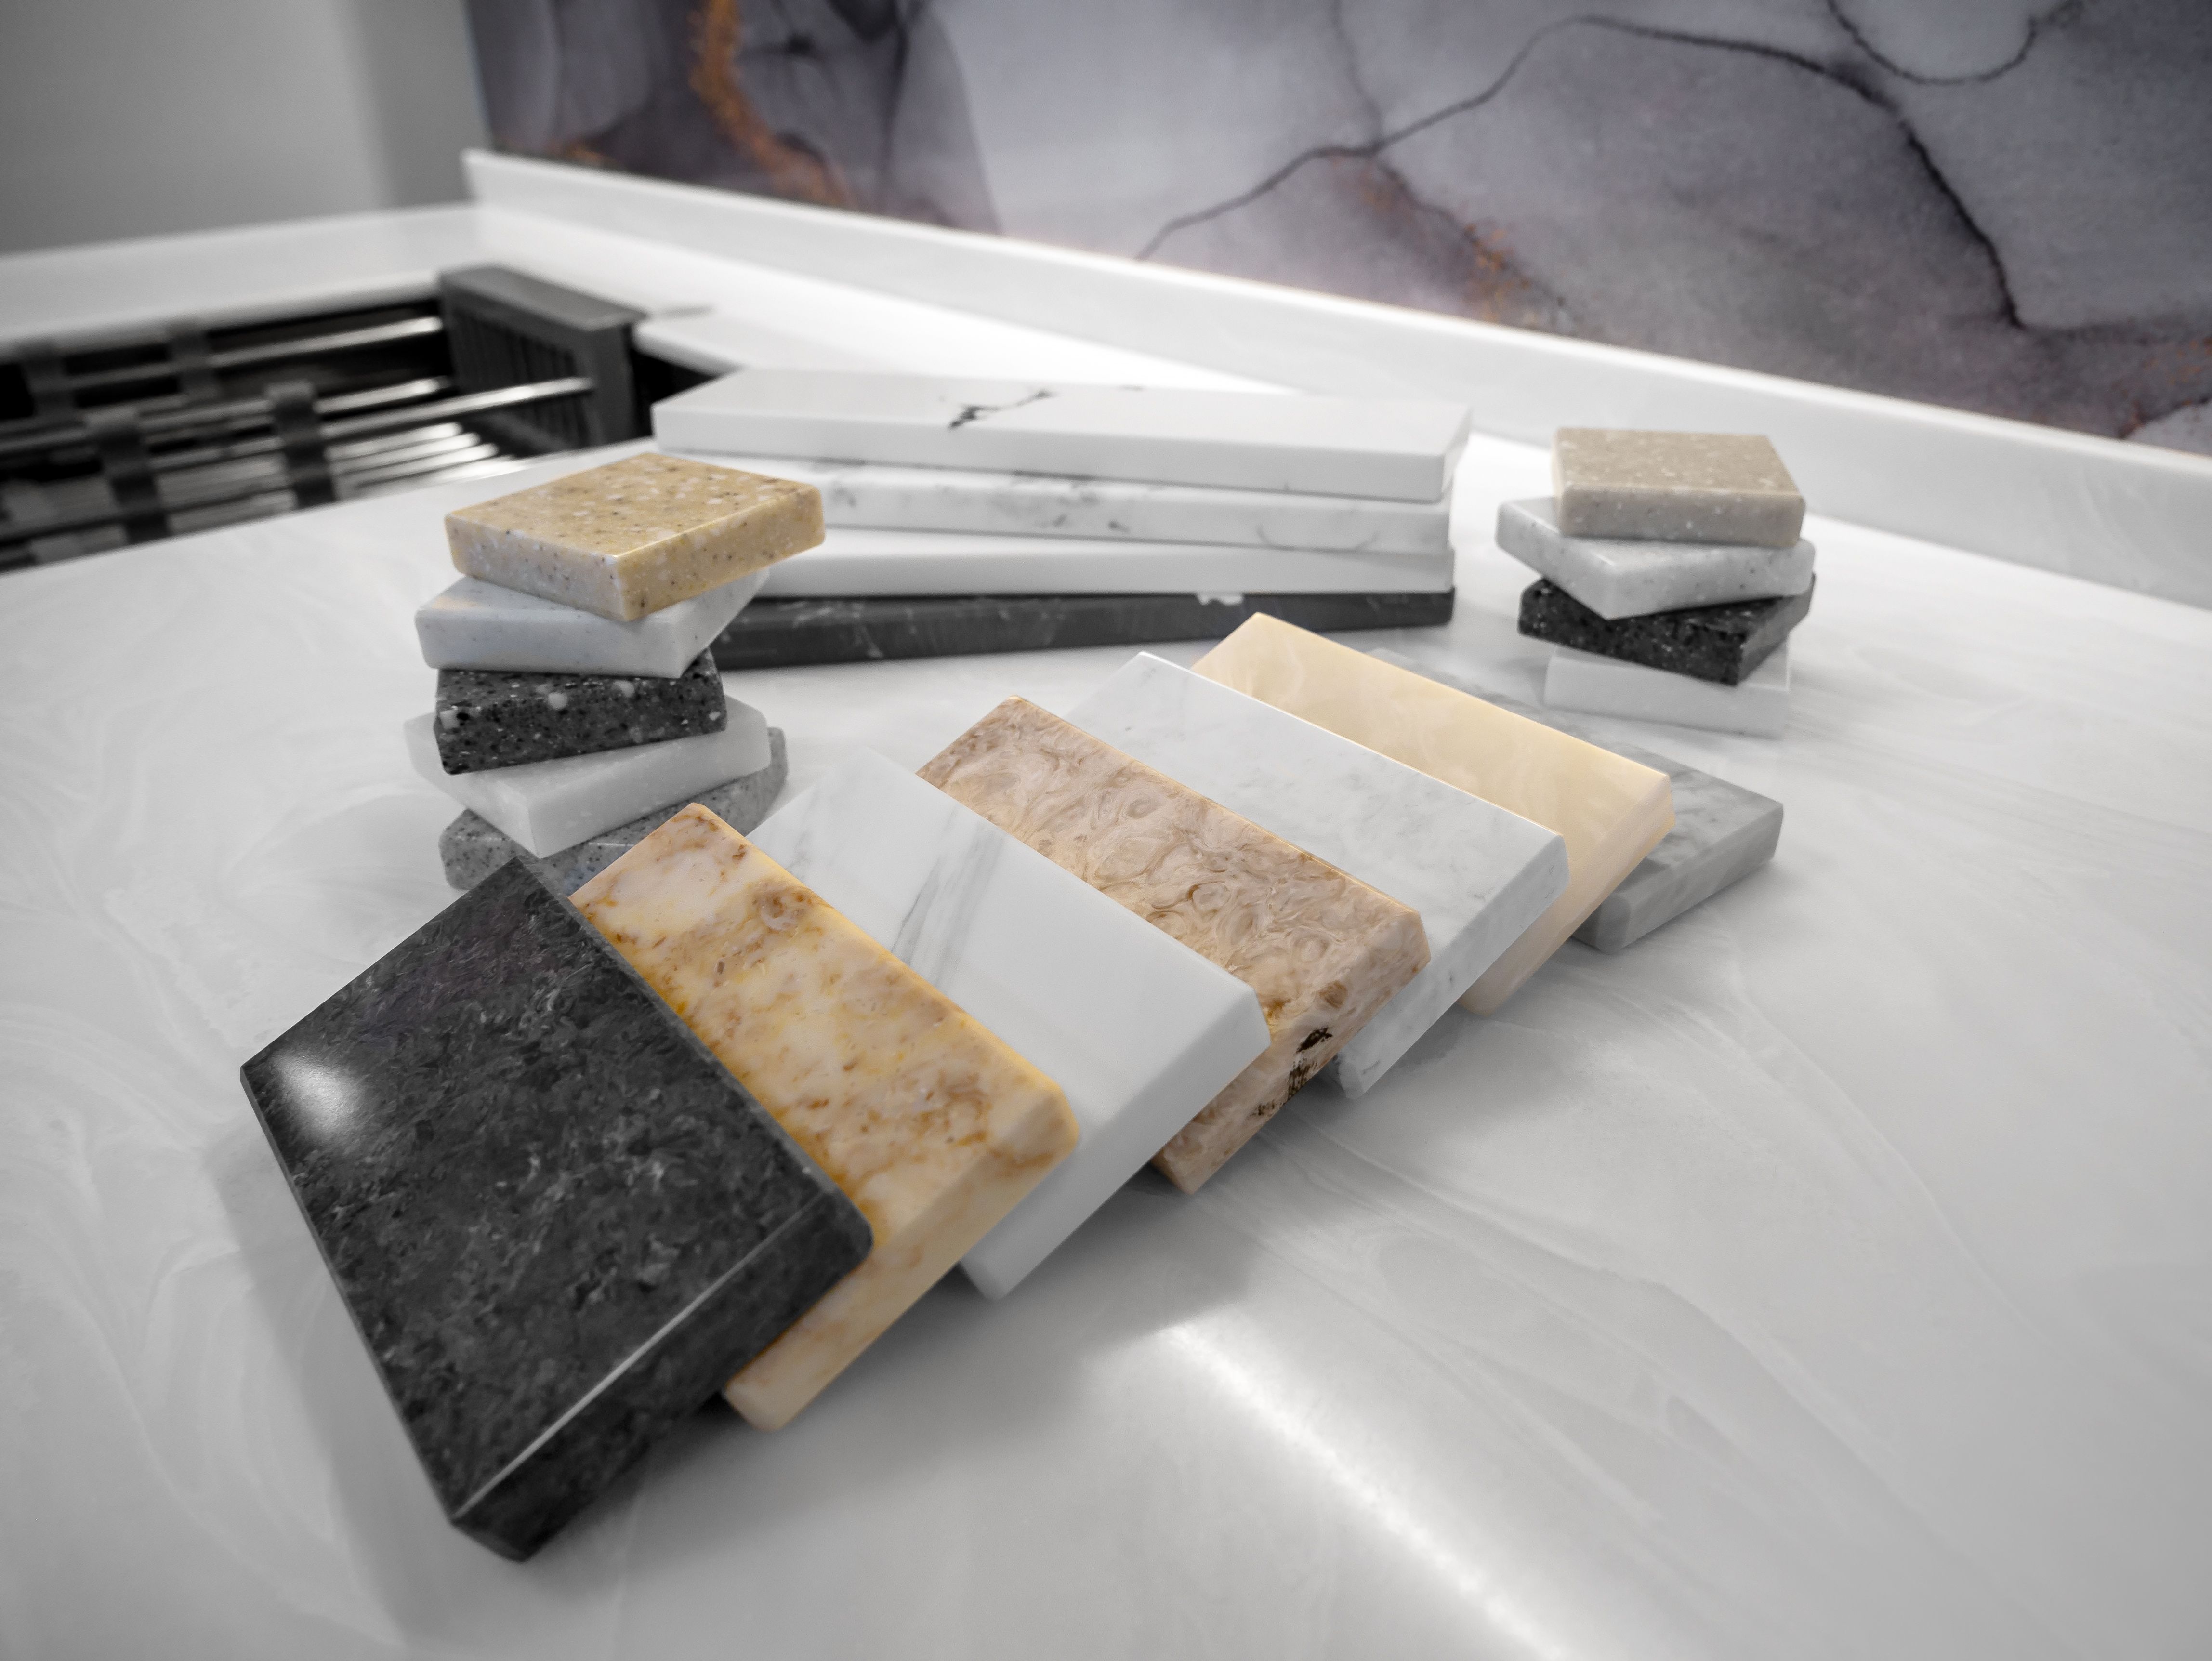
Choosing the Right Granite
Granite comes in various colors and patterns, so take your time selecting the right one for your space. Consider the existing decor and color scheme. Lighter shades can make a room feel larger, while darker tones add warmth and coziness.
When selecting granite, also consider the finish. Polished granite offers a glossy, refined look, while honed granite provides a matte finish that can hide scratches better.
Installation Process
Begin by laying out the granite tiles without adhesive to plan the pattern and alignment. This step allows you to make adjustments and ensure a pleasing layout.
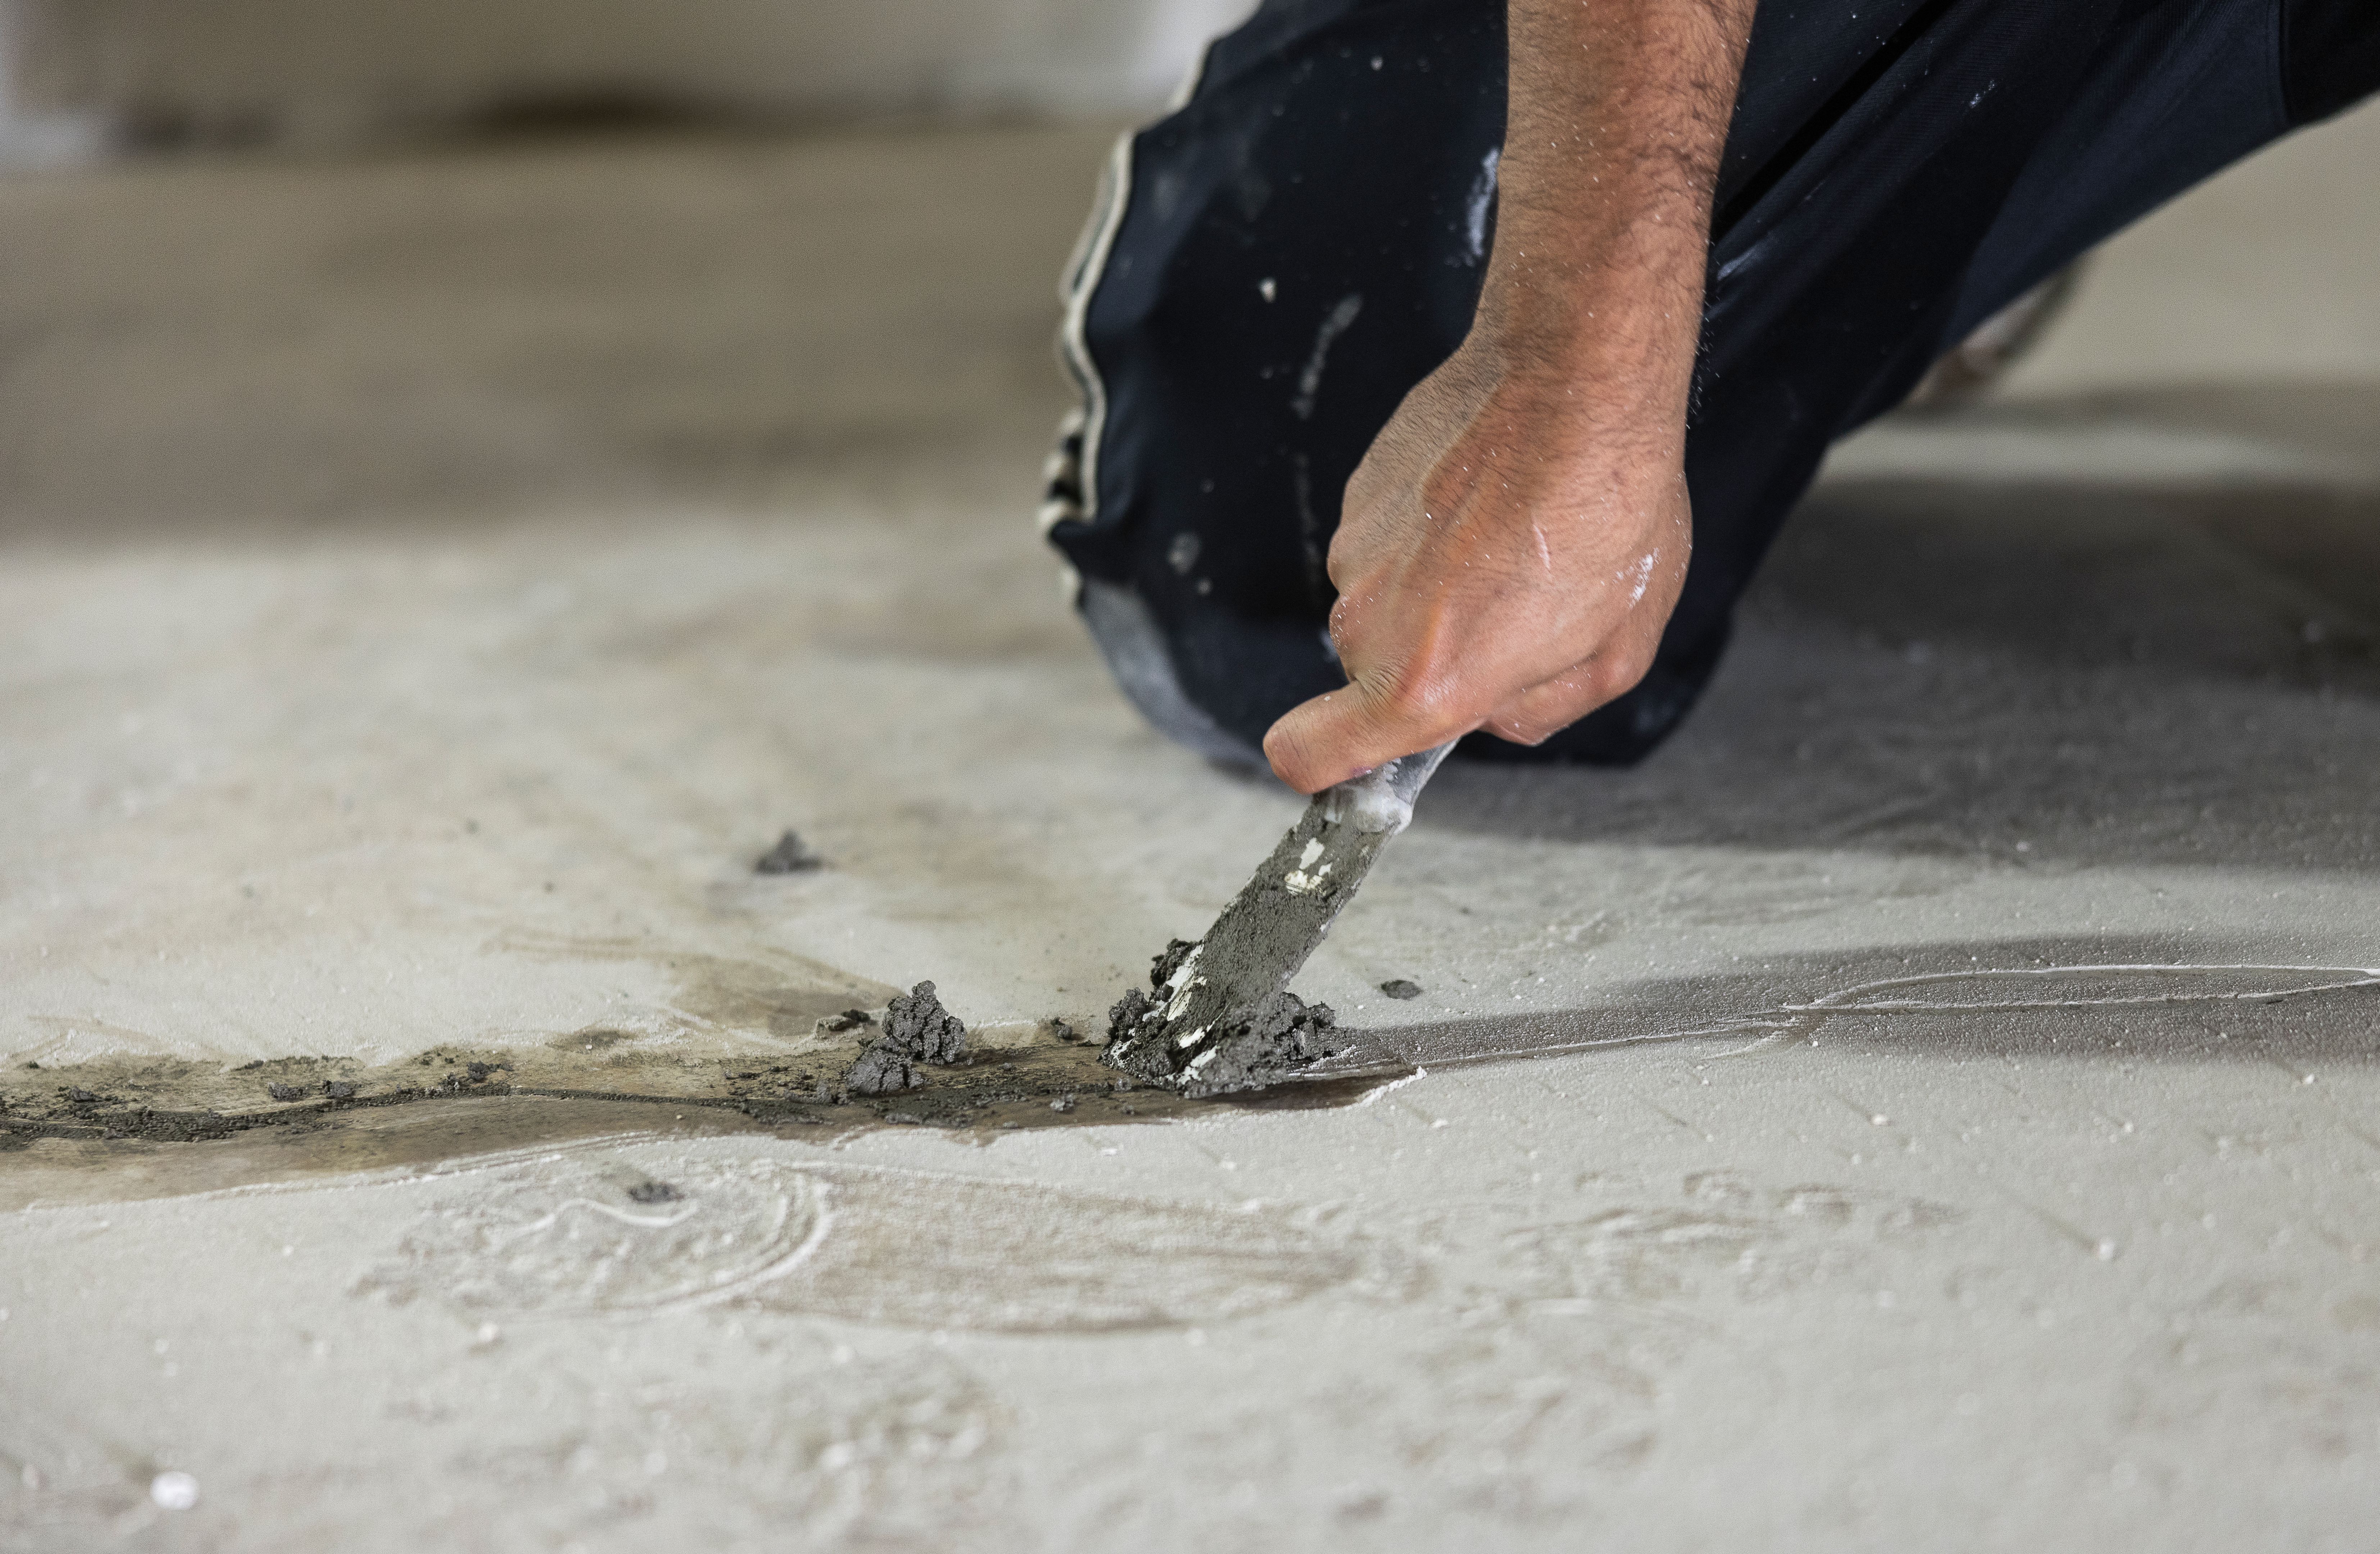
- Apply a suitable adhesive on a small section of the floor using a notched trowel.
- Carefully lay each tile, using spacers for uniform gaps.
- Check alignment frequently and make adjustments as needed.
Once all tiles are in place, allow the adhesive to cure as per the manufacturer’s instructions.
Finishing Touches
After the adhesive has set, it's time to apply grout. Choose a grout color that complements your granite. Apply it evenly between the tiles, removing excess with a damp sponge. This step ensures a polished look and prevents debris from accumulating in the gaps.
Finally, seal the granite. Sealing helps protect the stone from stains and enhances its natural beauty. Follow the manufacturer's guidelines for the best results.
Maintaining Your Granite Floor
To keep your granite floor looking its best, clean it regularly with a pH-balanced cleaner. Avoid harsh chemicals that can damage the stone. Re-seal the floor every couple of years to maintain its protective layer.
With proper care and maintenance, your granite flooring will remain a stunning feature of your space for many years. Embrace the transformation and enjoy the lasting elegance that granite brings to your home or business.