Tile Installation for Natural Stones: A Step-by-Step Guide


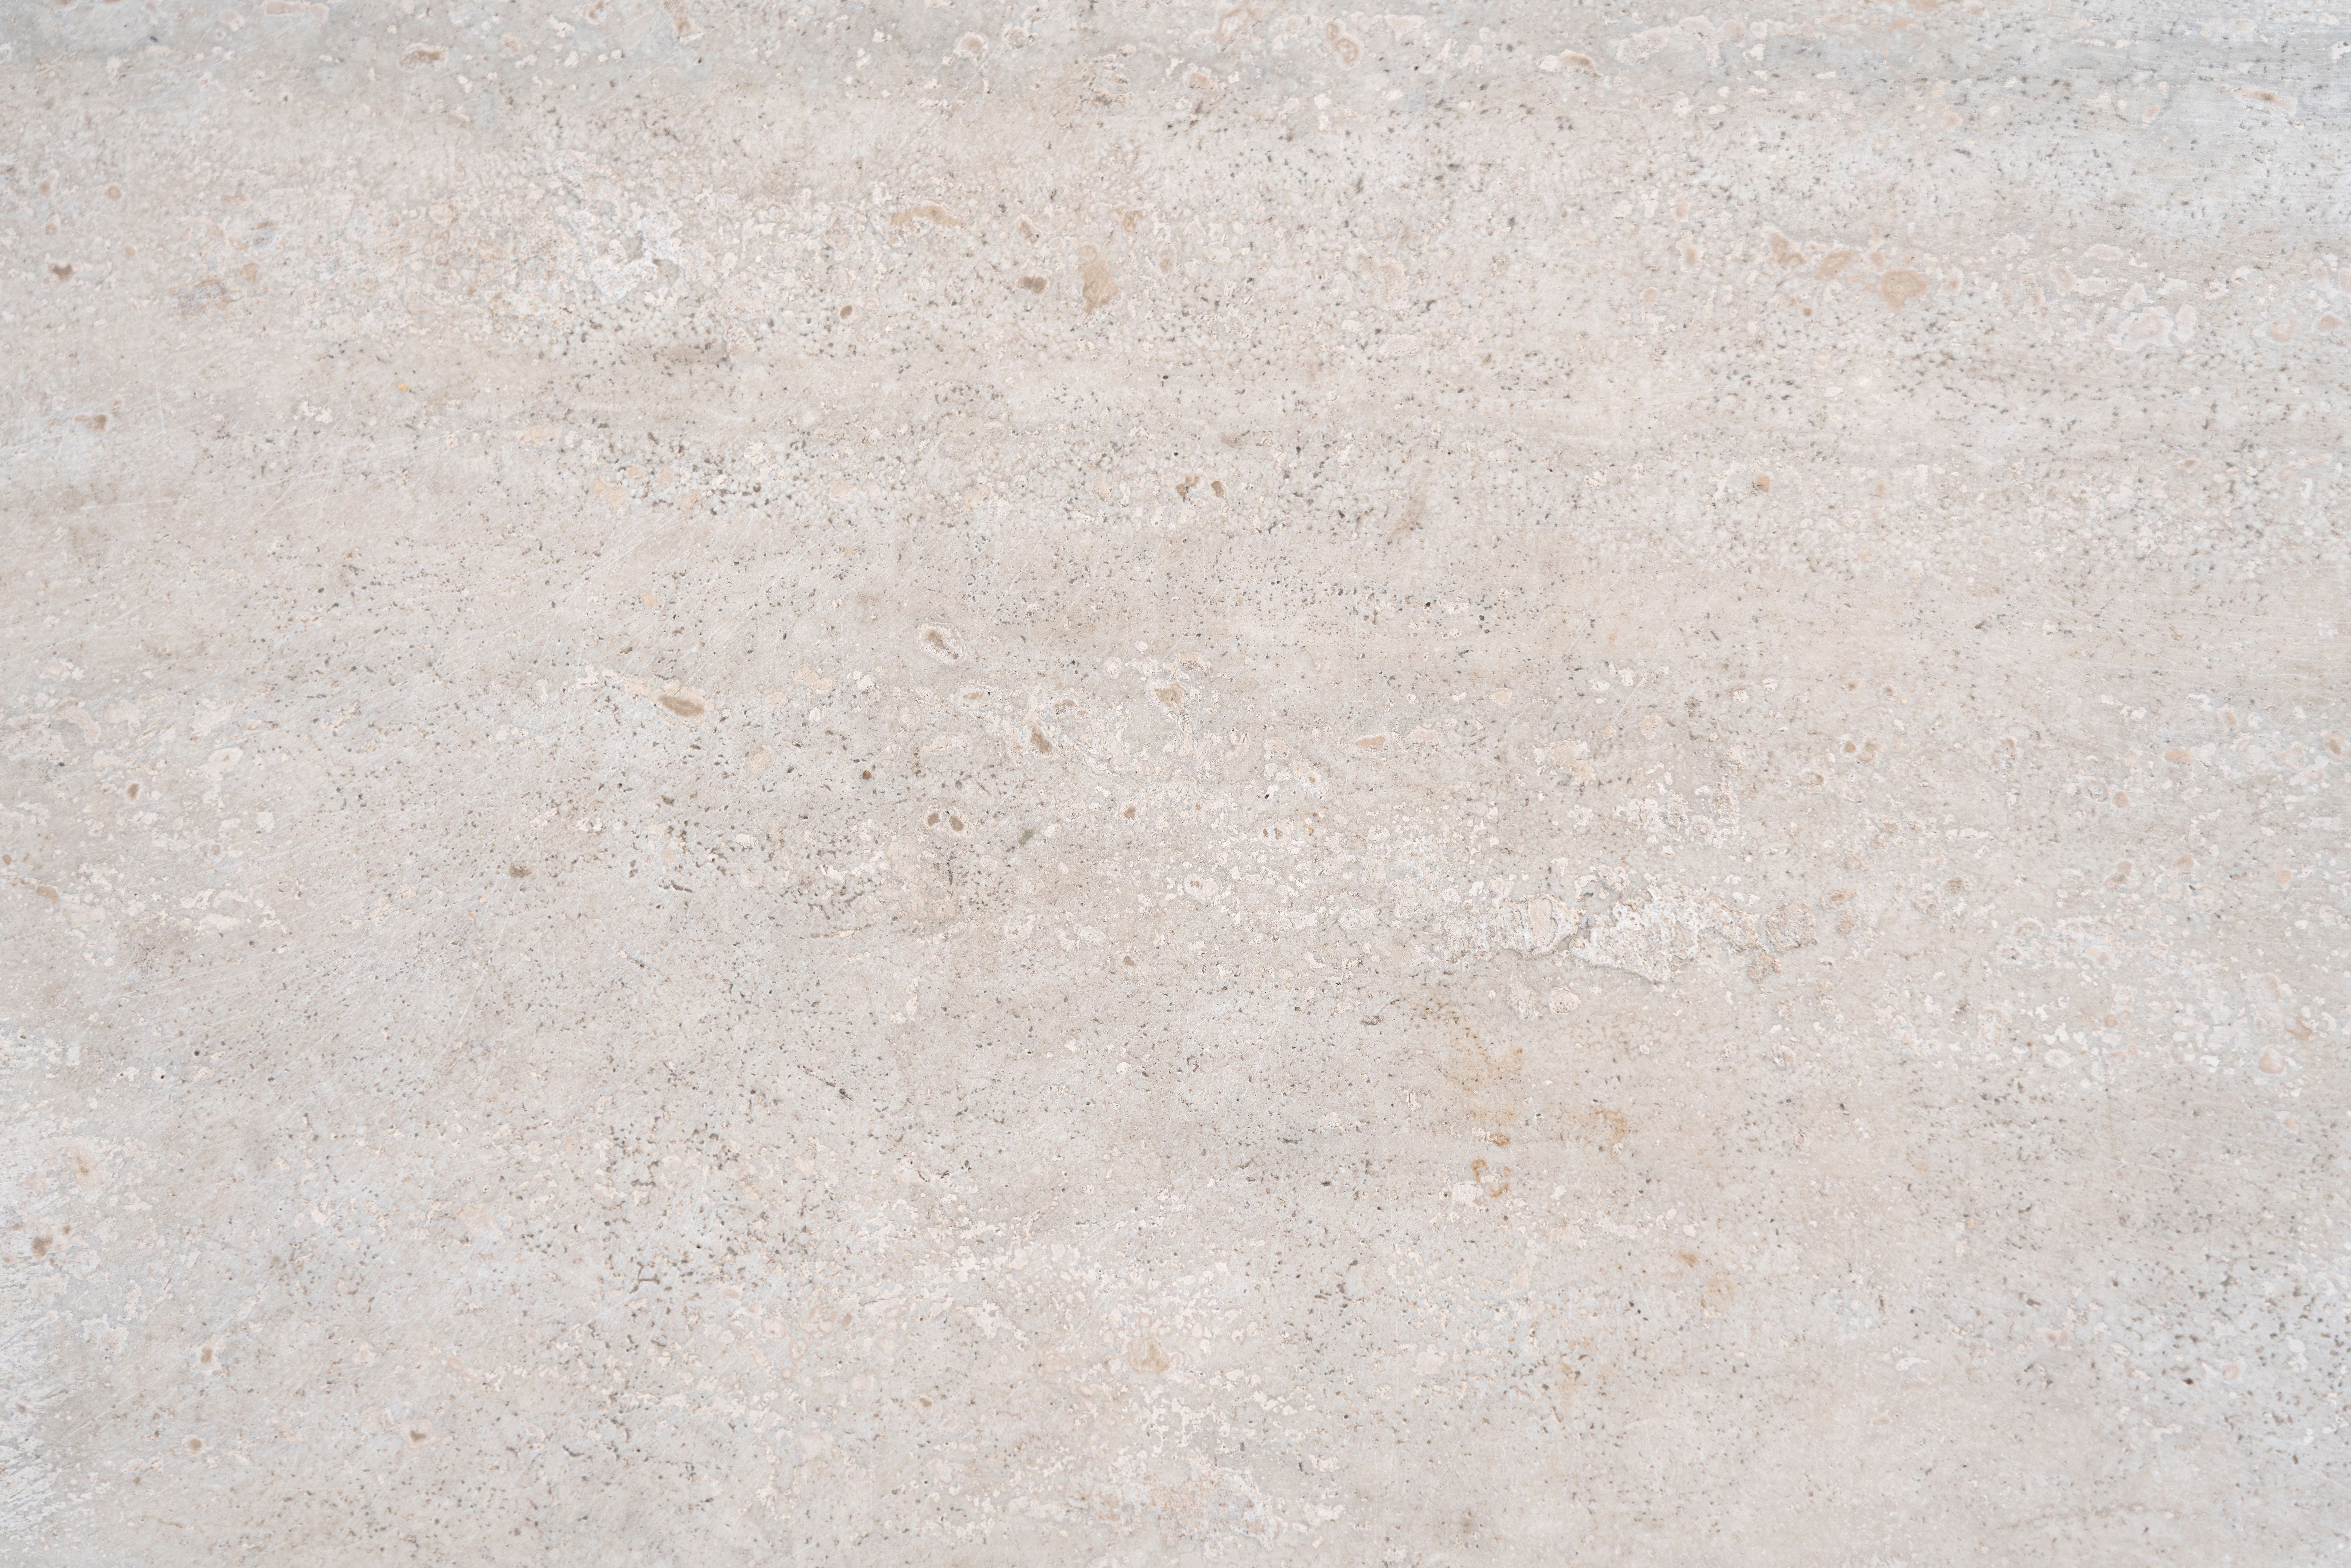
Understanding Natural Stone Tiles
Natural stone tiles, such as marble, granite, travertine, and slate, bring a touch of elegance and durability to any space. These materials are distinct, providing unique patterns and textures that cannot be replicated by man-made alternatives. However, installing natural stone tiles requires careful planning and execution to ensure a successful outcome.
Preparation and Materials
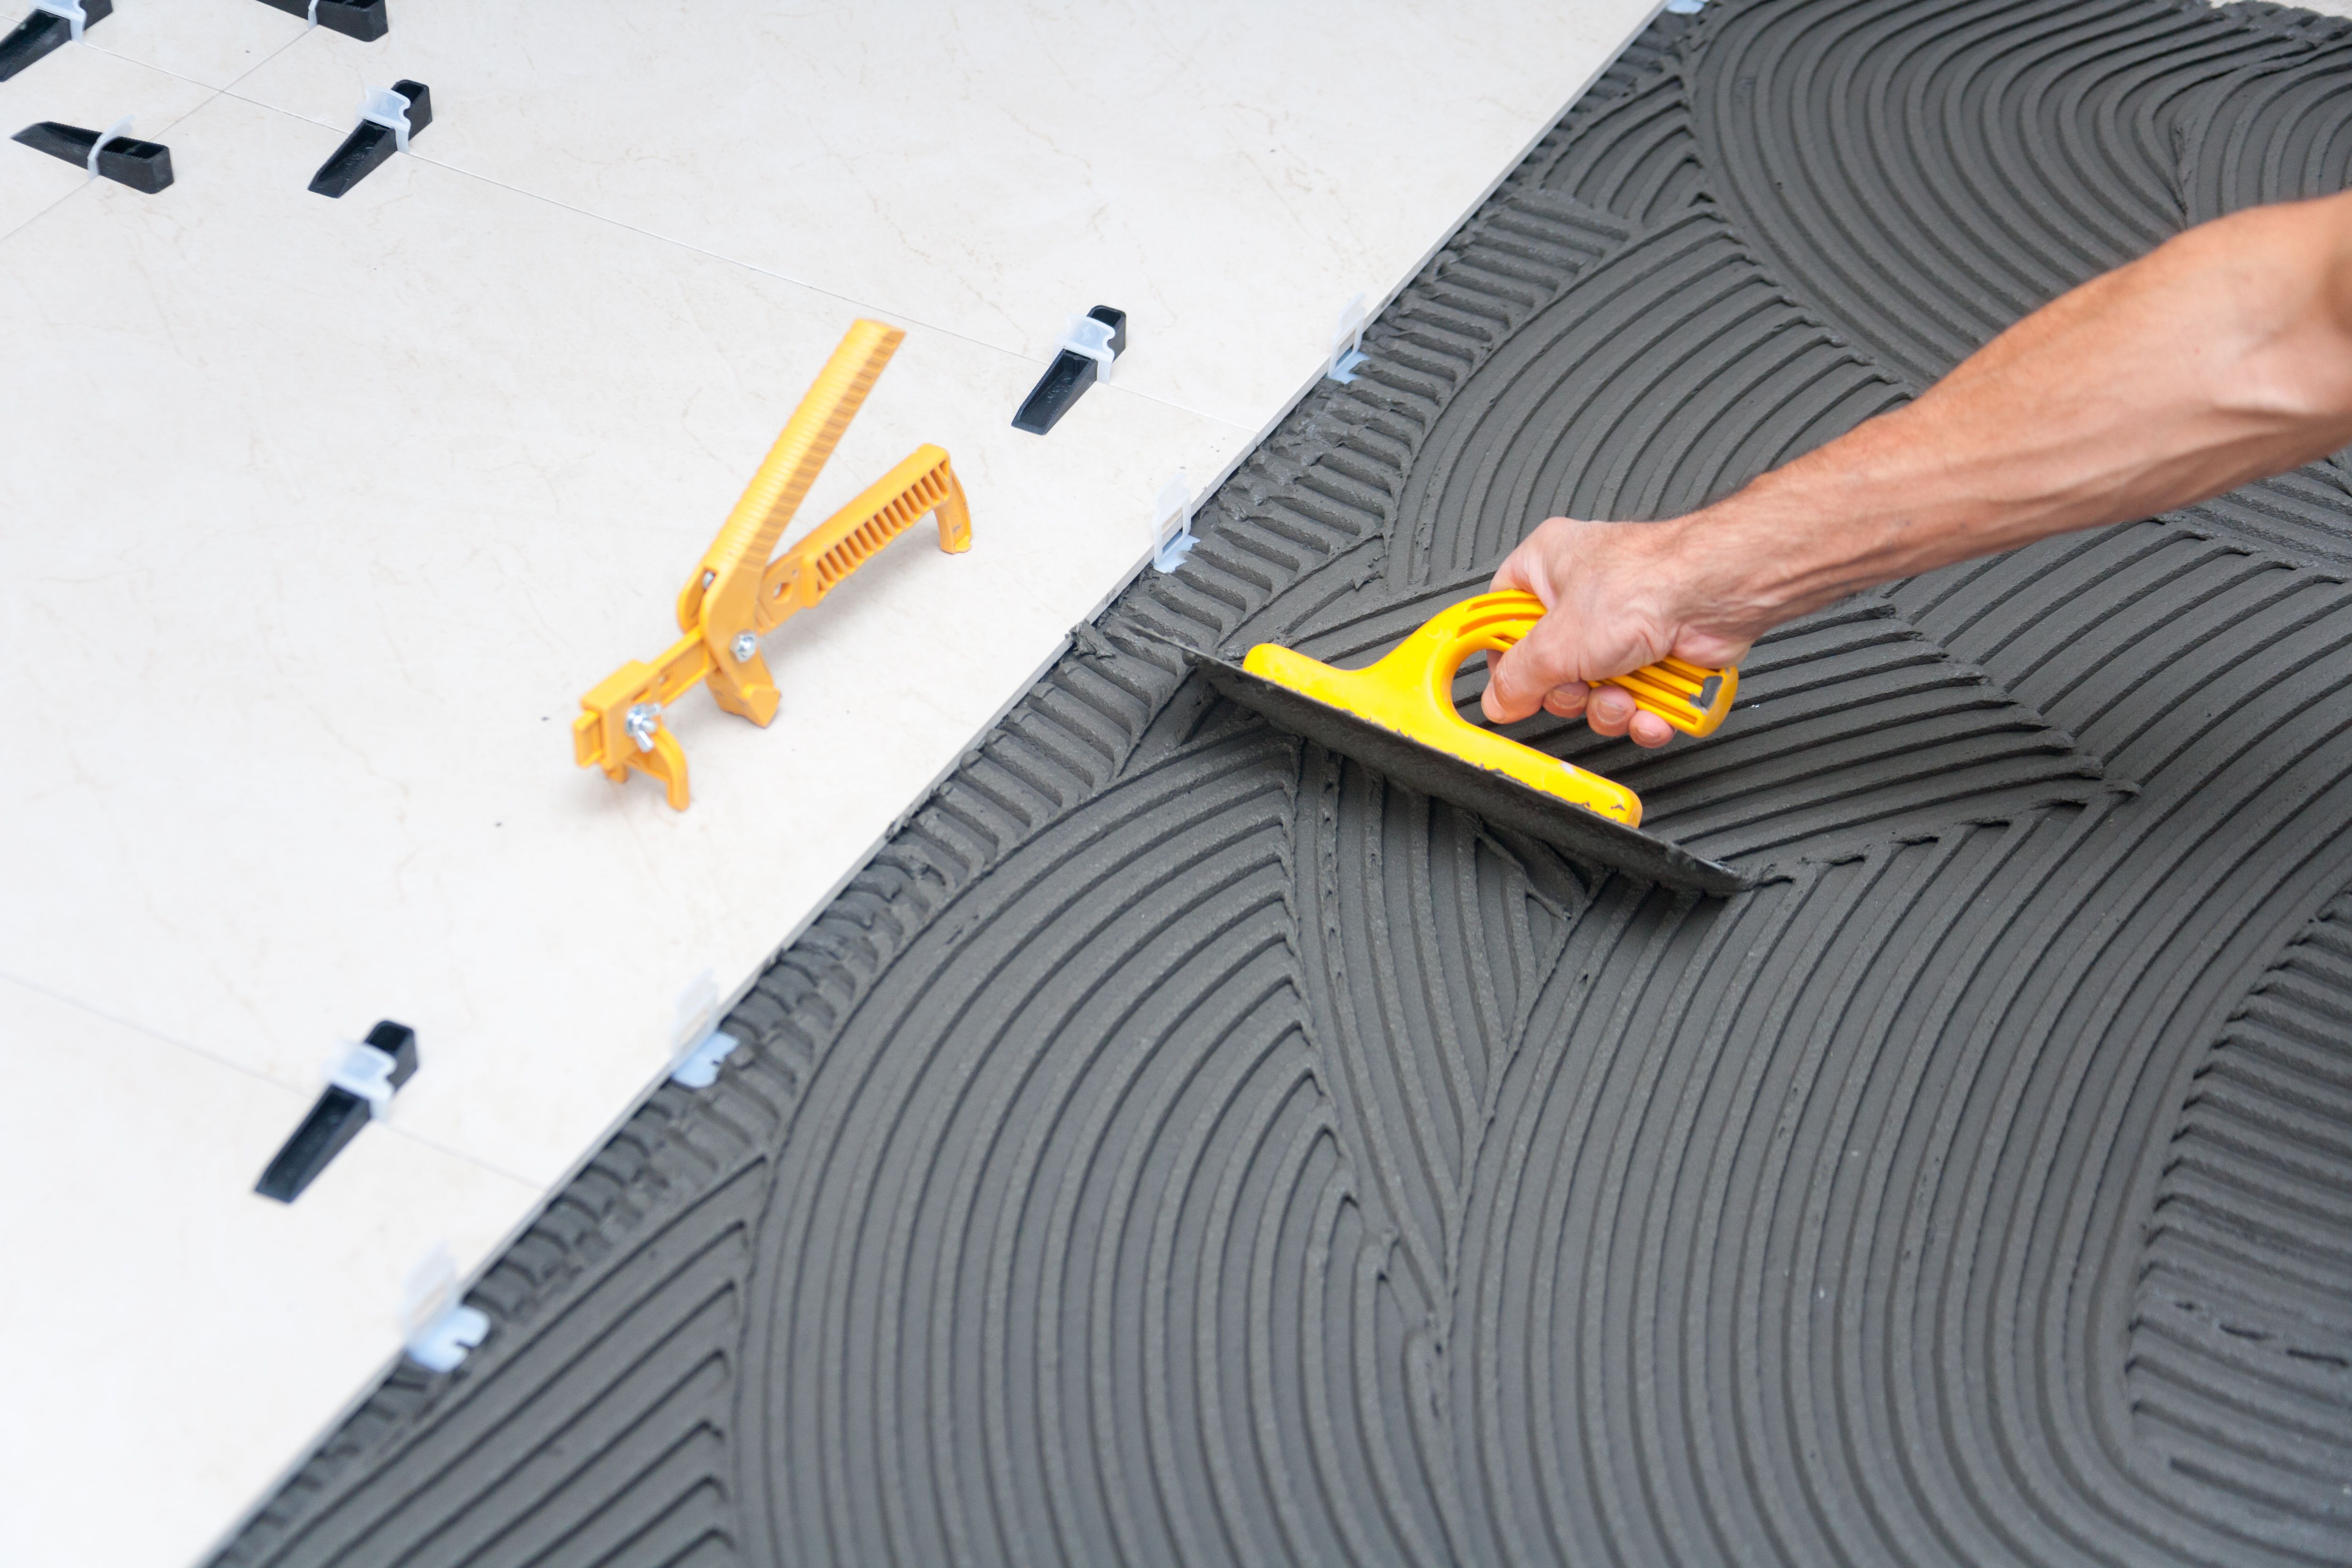
Before beginning the installation process, it's crucial to gather all necessary materials and tools. You will need natural stone tiles, a notched trowel, thinset mortar, a tile cutter, spacers, a level, and a grout float. Additionally, ensure that the surface where the tiles will be laid is clean, flat, and dry. Any irregularities in the surface can lead to uneven tiles and a subpar finish.
Choosing the Right Adhesive
Selecting the appropriate adhesive is essential when working with natural stones. Thinset mortar is commonly used due to its strong bonding properties. Make sure to choose a mortar that is compatible with your specific type of stone. For instance, certain marbles may require a white thinset to prevent discoloration.
Step-by-Step Installation
The installation process begins with laying out your tiles to determine the optimal pattern. This step helps in visualizing the final look and minimizes cutting. Once satisfied with the layout, start applying thinset mortar using a notched trowel. Spread it evenly on a small section of the floor or wall.
Laying the Tiles
Begin placing the tiles onto the mortar, pressing them firmly into place. Use spacers between each tile to maintain consistent grout lines and check frequently with a level to ensure they are even. Work in small sections to prevent the mortar from drying before the tiles are set.
Cutting Tiles
Inevitably, some tiles will need to be cut to fit around edges and corners. A tile cutter or wet saw can be used for this purpose. Measure the space carefully before cutting, as precision is key to maintaining a seamless appearance.

Grouting and Finishing Touches
After allowing the mortar to cure for at least 24 hours, you can proceed with grouting. Mix the grout according to the manufacturer's instructions and apply it using a grout float. Make sure to fill all gaps between tiles completely.
Sealing Natural Stone
Once the grout has dried, it's important to seal both the grout and the tiles. Sealing helps protect natural stone from staining and damage. Choose a high-quality sealer that is suitable for your type of stone and apply it evenly across the surface.
Tile installation with natural stones can transform any room into a luxurious space. By following these steps carefully and paying attention to detail, you can achieve professional-looking results that stand the test of time. Whether you're updating a bathroom or enhancing a kitchen backsplash, natural stone tiles offer unparalleled beauty and durability.