Step-by-Step Guide to Custom Countertop Installation


Introduction to Custom Countertop Installation
Installing a custom countertop is a rewarding project that can significantly enhance the aesthetic appeal and functionality of your kitchen or bathroom. Whether you're renovating your home or simply upgrading your surfaces, a custom countertop offers a unique touch that reflects your personal style. In this guide, we'll walk you through each step of the installation process to ensure a seamless and successful project.

Gathering Tools and Materials
Before you begin the installation process, it's crucial to gather all necessary tools and materials. You'll need a tape measure, level, power drill, jigsaw, silicone sealant, screws, and brackets. Additionally, make sure you have your chosen countertop material ready, whether it's granite, quartz, marble, or another option. Having everything on hand will save time and prevent interruptions during the installation.
It's also important to prioritize safety. Ensure you have safety goggles and gloves to protect yourself from any potential hazards during the work. Proper preparation is key to a successful countertop installation.
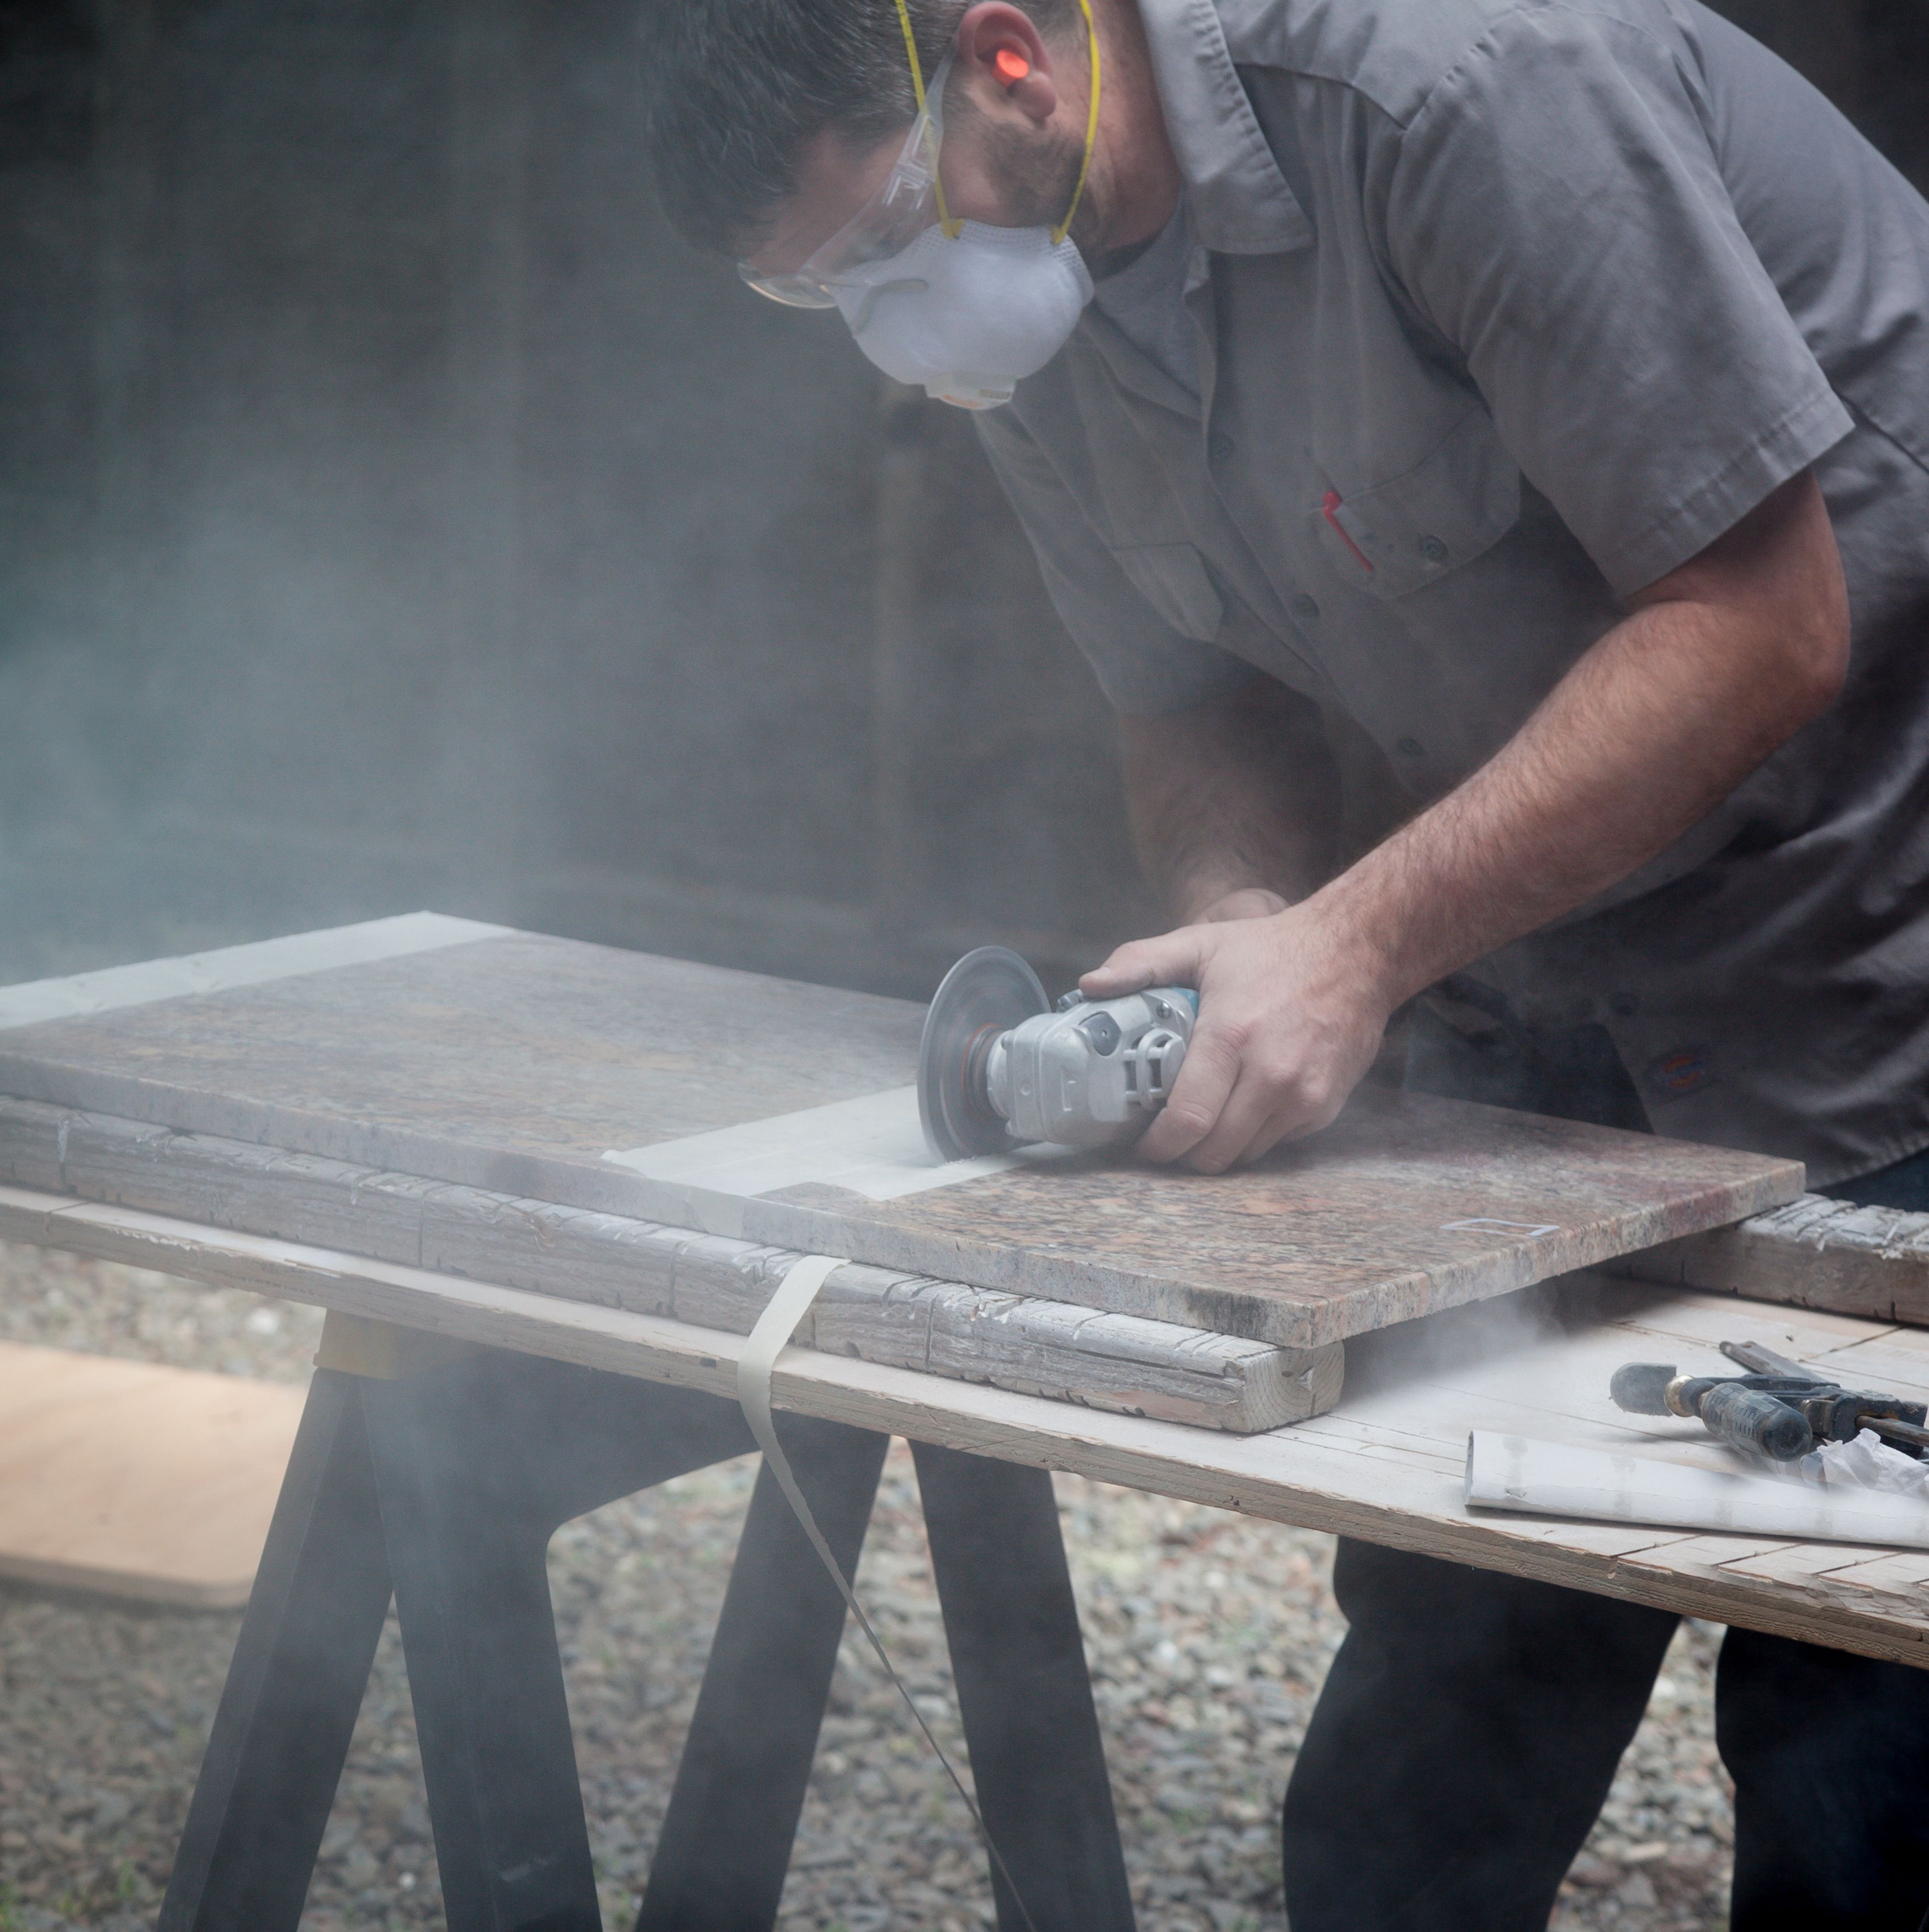
Measuring and Cutting the Countertop
Accurate measurements are the foundation of a perfect fit. Start by measuring the dimensions of your cabinets where the countertop will be placed. Use a tape measure to record the length and width, taking note of any peculiarities such as corners or curves.
- Measure the length and width of the cabinets.
- Mark these measurements on the underside of the countertop.
- Use a jigsaw to cut the countertop according to your markings.
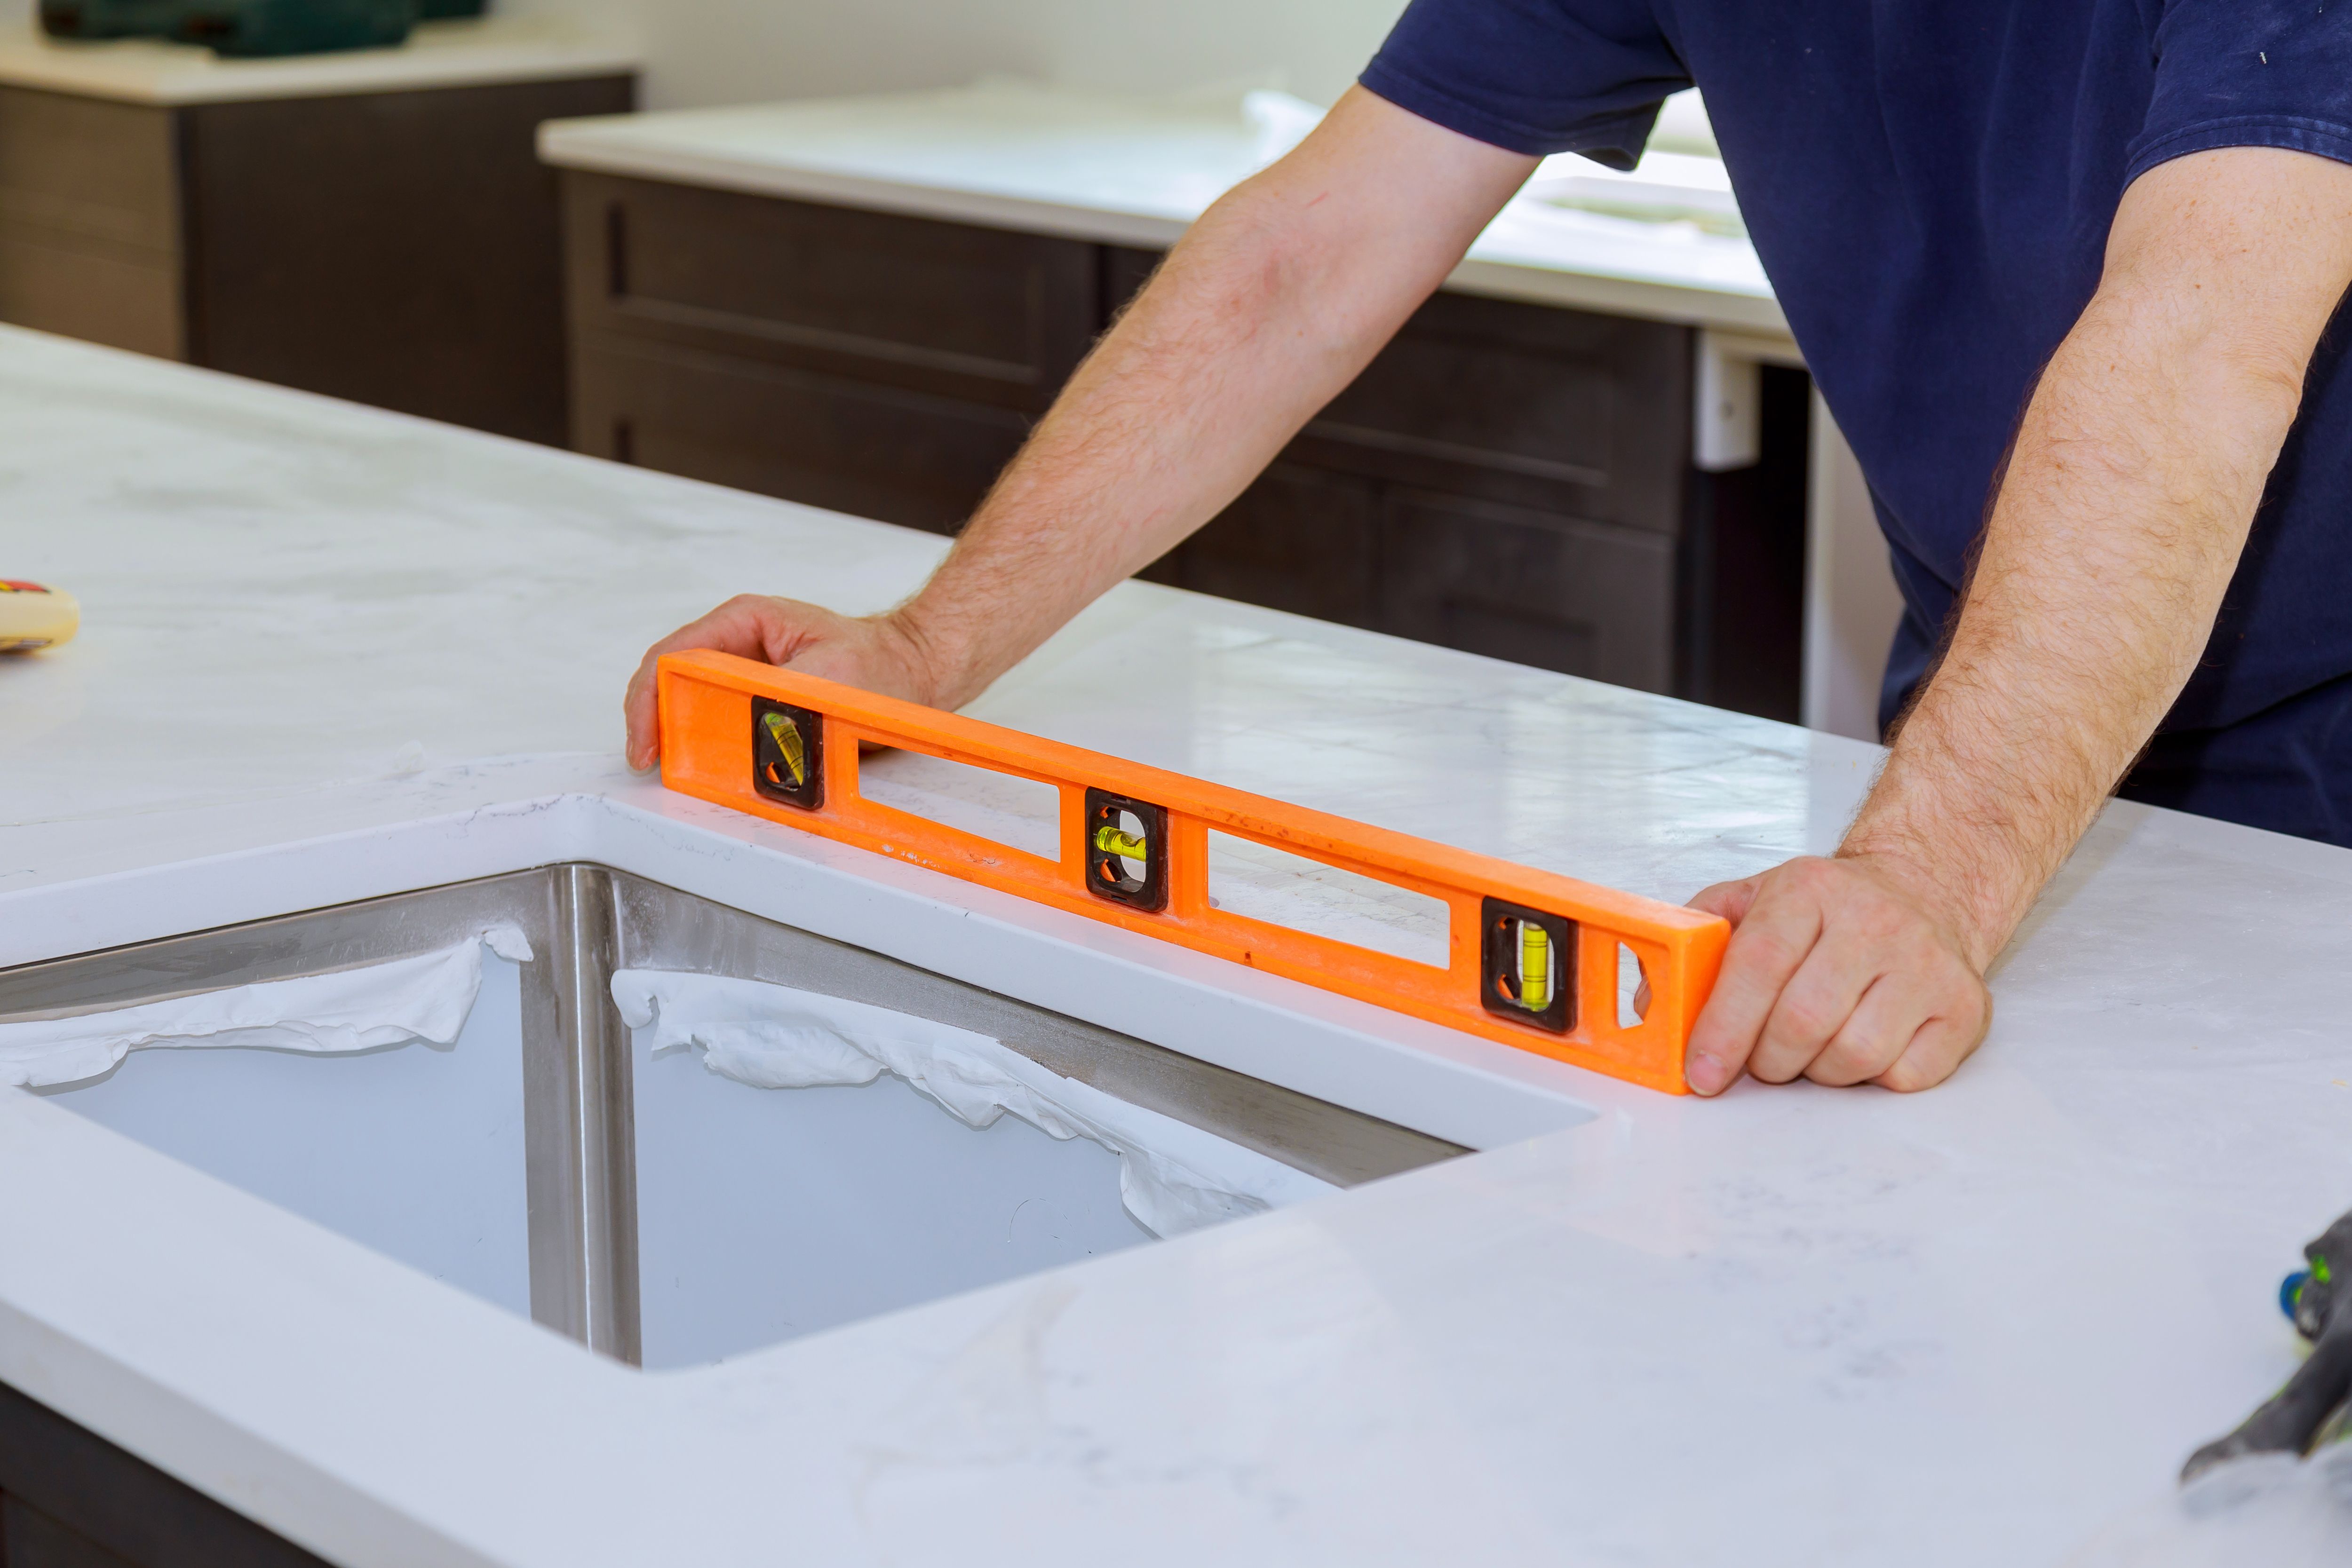
Ensuring a Precise Fit
After cutting, position the countertop on your cabinets to verify that it fits perfectly. If any adjustments are necessary, mark the areas that need trimming. A precise fit is essential for both aesthetic appeal and functional stability.
Securing the Countertop
Once you're satisfied with the fit, it's time to secure the countertop. Begin by applying a bead of silicone sealant along the top edge of the cabinets. This will help adhere the countertop and create a waterproof barrier. Carefully place the countertop onto the cabinets and press down firmly to ensure it adheres properly.
- Apply silicone sealant along cabinet edges.
- Position and press down on the countertop.
- Secure with screws and brackets underneath.
Final Touches
With the countertop securely in place, you can add any final touches. If your design includes a backsplash, install it now using adhesive and grout. Check all seams and edges, applying additional sealant if necessary to prevent moisture ingress.
Take a moment to admire your handiwork! Installing a custom countertop is a challenging yet fulfilling project that adds value and beauty to your home.
Conclusion
By following this step-by-step guide, you can achieve a professional-quality custom countertop installation. Remember, preparation and precision are key elements in ensuring success. With patience and attention to detail, your new countertop will be a stunning centerpiece in your home for years to come.